
Did you know that wind energy is one of the fastest-growing sources of renewable energy worldwide? As we strive for sustainable solutions, understanding how to draw a wind turbine can inspire creativity and promote awareness of clean energy technologies. This step-by-step design tutorial is perfect for anyone looking to visualize the mechanics of wind energy, be it for educational projects, artistic endeavors, or innovative designs.
Drawing a wind turbine not only enhances your artistic skills but also deepens your appreciation for the role these structures play in harnessing energy. Whether you’re a student, an educator, or just someone passionate about the environment, creating a wind turbine drawing allows you to engage with sustainable energy concepts in a tangible way.
Join us as we explore the intricacies of wind turbine design. Each step will guide you through the essential components, helping you understand the delicate balance of engineering and artistry required to bring these powerful structures to life on paper. Get ready to unleash your creativity while contributing to a more sustainable future!
Understanding Wind Turbines: Key Concepts for Beginners
Understanding wind turbines involves grasping the essentials of how they function and their importance in renewable energy generation. Wind turbines convert the kinetic energy of wind into mechanical power, which can then be converted into electricity. This process not only helps reduce reliance on fossil fuels but also promotes sustainable energy practices. With the increase in climate awareness, the integration of wind energy into our power systems represents a significant shift towards a greener future.
At the core of a wind turbine’s design are several critical components: the rotor, which consists of the blades; the nacelle, housing the generator and other key mechanisms; and the tower, which supports the entire structure. The rotor’s blades are specially designed to capture wind efficiently, with their pitch, length, and materials influencing performance. Understanding these elements is crucial for anyone looking to draw wind turbines accurately. Artists can create more realistic renderings by focusing on these details, illustrating how each part contributes not only to the aesthetics but also to the functionality of the turbine.
Incorporating these technical elements into your artwork adds depth and authenticity. By familiarizing yourself with how wind turbines operate, you can better depict their interaction with natural elements like wind and light. As you sketch, consider capturing the turbine in different settings-such as rural landscapes or offshore locations-to illustrate their versatility and impact on the environment. This approach enriches the viewer’s understanding and appreciation of renewable energy technology while enhancing your artistic representation.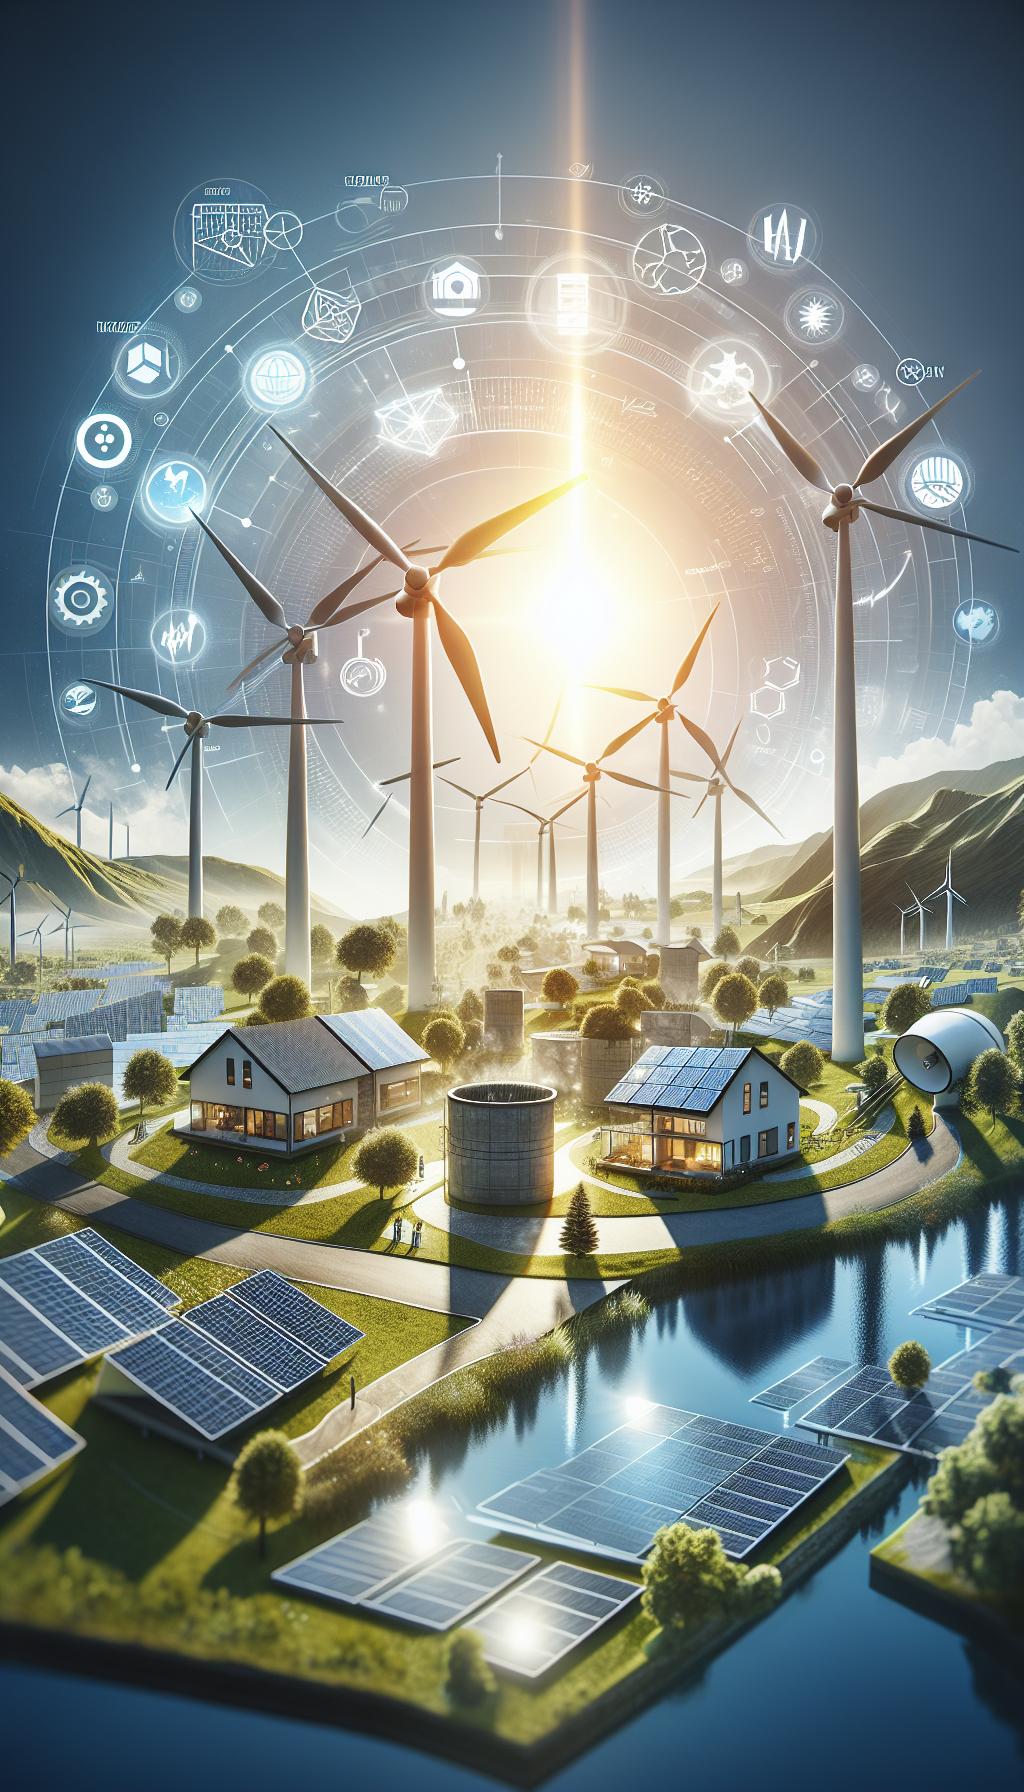
Essential Materials for Your Wind Turbine Drawing
When embarking on your journey to create stunning drawings of wind turbines, selecting the right materials can significantly enhance your artistic output. Whether you’re a beginner or an experienced artist, having high-quality supplies will not only aid in the precision of your drawings but also contribute to the overall aesthetic appeal of your work. Key materials will vary based on your preferred medium-be it traditional pencil and paper or digital design tools.
For traditional drawing methods, start with a good set of graphite pencils ranging from hard to soft (2H to 6B) to achieve a variety of line qualities. A smooth paper suited for pencil work can make a significant difference, so consider using drawing paper with a heavier weight (around 200 gsm) that can handle erasing and shading without tearing. Additionally, colored pencils or markers can be excellent for adding vibrancy to your art, allowing you to illustrate the wind turbine’s environment. If you’re working in ink, fine liners in various thicknesses can help define the structure and detail of the turbine, providing a polished look.
Incorporating digital tools opens a new horizon of possibilities. A tablet and stylus can be wonderful for precision and flexibility in your drawings. Software such as Adobe Illustrator or Procreate provides an array of brushes and colors, letting you experiment with various effects and layers. Don’t forget to utilize vector graphics for clean lines, especially if you’re designing for presentations or educational materials.
Here’s a brief list of essential materials you might consider for your wind turbine drawings:
- Graphite Pencils: A range from H to B for detailed sketches.
- Drawing Paper: 200 gsm or higher for durability.
- Colored Pencils/Markers: For vibrant, realistic representations.
- Fine Liners: Various thicknesses for detail work.
- Digital Tablet & Stylus: For more flexibility and precision in digital art.
- Graphic Design Software: Tools like Adobe Illustrator or Procreate for digital rendering.
Equipping yourself with these materials will not only improve your technical skills but also inspire confidence as you capture the elegance and complexity of wind turbines in your artwork. Remember, the right tools can make the process enjoyable and fulfilling, so experiment to find what resonates best with your personal artistic style.
Step-by-Step Guide to Sketching the Turbine Structure
To create a striking representation of a wind turbine, begin by capturing its essential structure in a systematic manner. Understanding the basic components will make your drawing both accurate and visually appealing. A wind turbine consists of several main parts: the tower, nacelle, rotor, and blades. Focusing on these aspects will not only help streamline your drawing process but also enhance the authenticity of your work.
Start the sketch by drawing the base of the turbine. Use a light pencil to outline the circular foundation, which will serve as the anchor for the entire structure. Ensure that this base is proportionate to the height of the tower you will draw next. Once the base is sketched, proceed to create the tower. Draw a long vertical line extending upward from the base, tapering slightly as you reach the top to mimic the real-life tapering of turbine towers. This detail adds a sense of realism and stability to the structure.
Next, focus on the nacelle, which is where the machinery of the turbine is housed. Position it at the top of the tower, designing a rectangular shape that is slightly wider than the tower itself for visual balance. From the nacelle, extend lines that will eventually lead to your rotor and blades. Ensure that the spacing is adequate; rotors should have ample room to spin. For the rotor, draw a circular hub at the center, around which you will position the blades.
Incorporating the blades requires attention to detail; sketch them in a fan shape, radiating from the hub. When drawing the blades, consider varying their lengths slightly to add depth and perspective. This little nuance gives your drawing a dynamic quality, reminiscent of how these turbines actively harness wind energy. After finalizing these components, you can refine your sketch, adding intricate details such as bolts on the tower or texture on the nacelle, to bring your drawing to life.
By following these foundational steps, you’ll develop not only a clear and precise drawing of a wind turbine but also an appreciation for the engineering behind these renewable energy generators. Keep practicing and exploring different angles and compositions to truly capture the elegance and function of wind turbines in your artwork.
Designing Propellers: Tips for Realistic Blades
Creating realistic turbine blades is essential for capturing the essence of wind energy in your drawings. The blades are more than just appendages; they symbolize the harnessing of the wind’s kinetic energy for sustainable power. Therefore, their design should reflect not only functionality but also an aesthetic quality that distinguishes your artwork.
To achieve realism, consider the following tips:
- Understand the Blade Shape: Turbine blades often have an airfoil shape, which is crucial for aerodynamics. This shape helps blades catch the wind efficiently. Research real-world turbine blades to see how they taper gently from the hub to the tip, increasing in width slightly outward.
- Vary Blade Lengths: Introduce slight variations in the length and curvature of the blades in your drawing. This detail makes each blade appear uniquely designed for optimal energy production and adds depth to your artwork, making it more dynamic.
- Angle and Position: When sketching the blades, consider their angle of attack. Blades are positioned at specific angles to maximize wind capture. A gentle tilt can suggest movement and the turbine’s interaction with the wind, enhancing the visual impact.
- Add Texture and Detail: Include elements such as bolts, seams, or even weathering effects to give your blades a realistic appearance. These details not only add authenticity but also convey the scale of the turbine, making it a more impressive centerpiece in your drawing.
For even greater realism, study wind turbines in different environments and lighting conditions. Observing how shadows and highlights interact with the curve of the blades can guide your shading techniques. Additionally, try sketching from various angles – a three-quarter view can dramatically showcase the graceful sweep of the blades, enhancing their visual appeal in your composition. Engaging with these aspects will not only improve your technical drawing skills but also deepen your understanding of wind turbines as significant components of renewable energy solutions.
Incorporating Electrical Components in Your Drawing
Incorporating electrical components into your wind turbine drawing not only enhances the realism of your artwork but also adds a layer of understanding about how these impressive structures function as energy generators. A wind turbine is not just a tall pole with blades; it is a sophisticated machine designed to convert wind energy into electricity, and showcasing its electrical elements can provide a more comprehensive view of its operation.
To begin integrating these components into your design, consider the key elements such as the generator, the control system, and the electrical cables. The generator, typically housed at the top of the turbine tower, can be depicted as a compact box connected to the nacelle (the structure that houses the generator and other mechanical components). Use strong lines to illustrate the robust connections between the generator and the turbine’s main shaft, emphasizing the mechanical relationship vital for energy conversion.
Next, the control system-responsible for optimizing performance and ensuring safety-can be represented through a series of sensors and cables. Sketch small boxes or modules on the nacelle, with thin lines that act as electrical wiring running down the turbine tower, suggesting the connection to other systems. This detail not only enhances the visual complexity of your drawing but also serves to illustrate the turbine’s ability to monitor conditions like wind speed and direction.
Moreover, consider adding elements that relate to the energy transmission process. You might illustrate underground cables or a transformer box at the base of the turbine, which helps to convey the transition of electricity from the turbine to the grid. These can be simplified representations; for instance, a square box marked with faint lines indicating wires leading underground can effectively symbolize this connection.
Detailed annotations or labels next to these components can further engage viewers by providing educational context. Describing the purpose of each part, such as the generator’s role in converting kinetic energy into electrical energy or the function of cables in transporting this energy, ensures that your artwork is not only visually appealing but informative.
Incorporating these electrical components into your wind turbine drawing will enrich the narrative of your artwork and demonstrate a nuanced understanding of renewable energy systems. Balancing artistic representation with technical accuracy will elevate your drawing, making it an impressive and educational piece that resonates with both art lovers and those interested in sustainability.
Coloring and Shading Techniques for Depth and Dimension
To transform your wind turbine drawing from a simple sketch to a vibrant, three-dimensional representation, mastering coloring and shading techniques is essential. Effective use of color not only brings life to your artwork but also enhances the realistic portrayal of the turbine and its surroundings. Understanding how different light conditions interact with the structure can significantly augment its visual depth and appeal.
Start by choosing a color palette that reflects the materials and environment of your wind turbine. For instance, the turbine blades are often white or light grey, while the tower can be a darker shade to suggest metallic surfaces. When coloring, apply a base layer of your chosen color, then build depth using darker shades for the areas where shadows naturally occur, such as the undersides of the blades and around the base of the turbine. A soft touch of blues or greens can be effective in shadow areas, hinting at reflections or atmospheric effects from the sky and landscape.
Shading Techniques
Incorporate various shading techniques to simulate light and depth effectively. Here are some common approaches:
- Hatching and Cross-Hatching: Use fine lines in parallel or crossed patterns to create texture and depth. This is particularly useful for adding dimension to the turbine tower and mechanical components.
- Blending: For smoother transitions between colors, use tools like blending stumps or your fingers to gently smudge the colors together. This technique works well for the sky or distant landscapes.
- Highlighting: Using a lighter shade of your base color, apply highlights on the turbine blades and nacelle where light hits directly. For instance, a soft white or yellow can suggest sunlight glinting off the smooth surfaces.
Furthermore, consider adding environment-based elements, such as a blue sky or clouds. This can enhance the overall setting and provide a contrast that makes the wind turbine stand out. Using gradient techniques to show smooth transitions in the sky can create a realistic backdrop, allowing your turbine to pop against its surroundings.
In summary, combining thoughtful color choices with effective shading techniques will greatly enhance the depth and dimension of your wind turbine drawing. By applying both artistic and observational skills, you can create a visually appealing representation that captures the essence of these impressive structures. Remember, practice is key, so experiment with different methods to find your unique style!
Tools and Software for Digital Wind Turbine Design
Digital design tools have revolutionized the way artists and engineers conceptualize and create wind turbine designs. Whether you’re a beginner exploring graphic design or a seasoned professional seeking to streamline your design process, several powerful tools and software options are available to elevate your digital wind turbine drawings.
Graphic Design Software
Programs such as Adobe Illustrator and CorelDRAW are excellent for creating precise and scalable illustrations of wind turbines. With vector graphics, you can ensure that your designs maintain quality at any size, which is especially important for presentation purposes or marketing materials. These tools offer a variety of features such as layering, gradients, and various color palettes that can help in showing the different components of wind turbines more accurately. Additionally, they provide a robust set of tools for color management and typography, allowing for a polished final product.
For those looking for more accessible options, software like Inkscape or Canva offers user-friendly interfaces that still provide essential drawing capabilities. Inkscape, for example, is a free, open-source vector graphics editor that allows beginners to create detailed designs without the initial investment of more advanced software.
3D Modeling Tools
When depicting wind turbines in three dimensions, software such as SketchUp, AutoCAD, or Blender can greatly enhance your designs. SketchUp is particularly popular due to its intuitive interface and ease of use, making it a great choice for those just starting with 3D modeling. Blender, while more complex, offers extensive capabilities for rendering and animation, enabling you to showcase your wind turbine designs in a realistic environment. This feature can be especially useful for presentations or educational purposes, helping viewers visualize how the turbine integrates into its landscape.
Furthermore, using simulation software like ANSYS or SolidWorks can provide insights into the performance and efficiency of your designs under various conditions, such as wind loads and environmental factors. These tools can enhance your understanding of how your design will function in real-life scenarios.
Online Platforms and Apps
For those who prefer a more collaborative approach or need to share their designs with teams, online platforms like Tinkercad or Figma allow real-time collaboration and easy sharing of projects. These tools offer cloud-based solutions that make access and teamwork seamless. Figma in particular is excellent for combining design and prototyping, making it ideal for projects that may lead to further development stages.
Whether you are creating simple sketches or complex simulations, the right combination of tools can empower you to bring your wind turbine designs to life in a vibrant, impactful way. Don’t hesitate to experiment with a variety of software options to discover which ones resonate most with your workflow and creative vision.
Common Mistakes to Avoid When Drawing Wind Turbines
When drawing wind turbines, artists can easily overlook certain aspects that may lead to less-than-ideal results. One significant mistake is failing to grasp the correct proportions. Wind turbines require a balance between the height of the tower and the size of the blades and rotor. For instance, if the blades are drawn too small in comparison to the tower, it will distort the perceived functionality of the turbine. To remedy this, it’s beneficial to use reference images, ensuring that your drawing reflects the real-life dimensions and relationships between parts.
Another common error is neglecting the turbine’s orientation and positioning. Wind turbines are designed to face into the wind for maximum efficiency, and this should be accurately represented in your drawings. Misaligning the turbine can lead to confusion and misinterpretation of its mechanics. To avoid this, consider sketching the wind direction as part of your final design, which can enhance the overall clarity of your illustration.
In addition, shading and detailing are often improperly rendered, leading to flat and uninteresting compositions. Good shading adds depth and makes the turbine appear three-dimensional. Using a varying range of tones and shadows can help to depict the light and atmospheric conditions that affect the turbine. Start with lighter shades on the areas facing the light source and deeper shades on the opposite sides; this technique helps to create a more realistic effect.
Lastly, overlooking the environment surrounding your wind turbine can detract from the overall impact of the drawing. Contextual elements like fields, other turbines, or even clouds can enhance your composition and provide a story to your artwork. Consider incorporating these elements, as they will not only add interest but also ground your turbine in a realistic setting, showcasing its relationship with the world around it.
Inspiration from Successful Wind Turbine Projects
The integration of wind turbines into the landscape is not only a hallmark of modern renewable energy initiatives but also serves as a rich source of inspiration for artists. Consider the impressive Horns Rev offshore wind farm in Denmark, one of the largest in the world, which features over 80 turbines set against a horizon of endless sea. This breathtaking view can ignite imagination, encouraging artists to capture the striking contrast between the man-made structures and natural surroundings, providing a dynamic visual narrative. When drawing, these details are crucial; elements like the waves reflecting the sunlight can enhance the overall composition and reflect the turbine’s connection to the environment.
Many successful wind turbine projects, such as the Gansu Wind Farm in China, which is one of the largest onshore installations globally, demonstrate innovative designs that artists can study for form and structure. The turbines at this site vary in size and configuration, showcasing different aesthetics that may be incorporated into drawings. By examining these examples, you can experiment with various styles in your artistic process, combining the functional aspects of turbines with their visually striking characteristics. Each project illustrates not just energy production but also the evolution of design that harmonizes technology with nature.
Furthermore, capturing the cultural significance of wind energy in artworks can empower your illustrations. Communities that embrace wind energy projects often celebrate them as symbols of sustainability and progress. Including elements that highlight local flora or fauna alongside wind turbines can deepen your narrative, offering a glimpse into how these structures coexist with their environments. Engaging with such themes not only enriches your artwork but also contributes to a broader dialogue on the importance of renewable energy and its role in future landscapes. This approach encourages both personal reflection and public engagement, making your artwork not just an image, but a story worthy of sharing.
Expanding Your Skills: Advanced Drawing Techniques
Expanding your artistic horizons when drawing wind turbines is an exciting venture. Mastering advanced techniques can transform your sketches from simple illustrations into dynamic representations that capture the complexity and grace of these monumental structures. One effective method to enhance your skills is perspective drawing. Understanding how to depict turbines in three dimensions will add realism to your art. Begin by practicing basic shapes and gradually incorporate vanishing points and foreshortening. This approach helps in accurately portraying the towering heights and expansive rotors of wind turbines, making them appear more lifelike and integrated into the landscape.
Utilizing dynamic compositions is another way to elevate your drawings. Rather than placing a turbine in the center, experiment with asymmetrical layouts that draw the viewer’s eye across the entire page. You might position the turbine on one side, juxtaposed against swirling clouds or distant mountains, to convey a sense of wind movement and energy. Such elements not only enhance the visual interest but also encapsulate the essence of wind energy as a force of nature.
Incorporating mixed media can further enrich your illustrations. For example, combining traditional pencil sketches with digital elements can help in achieving a unique aesthetic. Using software tools, you can adjust textures and add effects that mimic realistic weather conditions or time of day, such as the soft glow of morning light hitting the turbine blades. This fusion creates depth and complexity, transforming your artwork into a contemporary interpretation of wind turbines.
Lastly, don’t hesitate to draw inspiration from the world around you. Visiting wind farms, studying photos, or even observing how light interacts with different surfaces can provide invaluable insights into how you approach your drawings. Keep an open mind, continuously experiment with various techniques, and explore the narratives behind wind energy. Each attempt brings you closer to developing a personal style that not only showcases your skills but also engages viewers in the dialogue around sustainability and renewable energy.
Exploring Different Wind Turbine Types in Art
Artistic representation of wind turbines can vary significantly based on their types and styles, each evoking a unique aesthetic and concept. When sketching, understanding this diversity is vital, not just for technical accuracy but also for capturing the essence of these structures in your artwork. From traditional three-blade systems to innovative vertical-axis turbines, each design comes with its own form and structural qualities, inspiring different artistic approaches.
A key aspect to consider is the different configurations of turbines:
- Horizontal-axis wind turbines (HAWTs): These are the most commonly depicted versions, with their prominent three-blade design. They are often seen as elegant, with their sleek lines soaring against the sky, offering a dynamic silhouette.
- Vertical-axis wind turbines (VAWTs): Featuring a more unconventional appearance, these turbines can appear like artistic sculptures. Their design lends itself to creative interpretations, allowing artists to explore unusual formats in their drawings, such as incorporating swirling motion to emphasize their rotational dynamics.
- Offshore wind turbines: These giant structures, set against ocean backdrops, can be portrayed to highlight their immense scale. Incorporating elements like waves and maritime scenery can enhance the realism and beauty of your drawing.
Art can also reflect the functional aspects of these turbines. For instance, incorporating detailed close-up sketches of the blades or the nacelle (the part that houses the generator) can emphasize both the engineering marvel and the artful design. Exploring materials used in the turbines, such as reflecting the sleek surfaces of fiberglass blades or the matte textures of steel towers, can further add to the visual depth of your artwork.
Inspiration can come from observing real turbine installations. Photographs or site visits can provide insights into how these structures interact with their environment, especially in varying light conditions and landscapes. Whether you are depicting a wind farm in a rural setting or a single turbine amidst an urban skyline, your artistic renditions can communicate the harmony or contrast of nature and technology. Embrace the unique characteristics of each turbine type, and let these distinct elements inform your sketching approach, resulting in vibrant and meaningful representations of wind energy in art.
Sharing Your Wind Turbine Drawings Online
Sharing your artistic representations of wind turbines online can connect you with like-minded individuals and inspire others in the creative community. In today’s digital age, there are numerous platforms where artists can showcase their work, tell their unique stories, and engage with audiences who appreciate renewable energy and its importance. Whether you’re sharing simple sketches or detailed drawings, a strategic approach can enhance your visibility and interaction.
Begin by selecting the right social media platforms to share your drawings. Websites like Instagram, Pinterest, and Behance offer visually driven experiences where your artwork can shine. Use relevant hashtags like #WindTurbines, #RenewableEnergyArt, and #SustainableDesign to attract viewers interested in similar themes. Engaging with communities on forums such as Reddit or specialized art sites can also introduce your work to an audience passionate about green technology and sustainability.
An essential aspect of sharing your art is crafting engaging captions. Describe your inspiration, the techniques you used, or insights into the process of creating the artwork. This context invites viewers to connect with your work on a deeper level. Consider running contests or challenges related to wind turbine design, urging your followers to participate and share their creations. This collaborative approach can foster a sense of community and encourage more interaction.
Lastly, don’t overlook the benefits of creating a portfolio website or blog. This space can serve as a platform not only for your art but also to educate others about wind energy and its significance. Include a section on your methodologies, materials used, and a blog discussing trends in renewable energy. This dual focus on art and advocacy can elevate your presence in both the artistic and environmental spheres, making your contributions to the conversation about sustainability more impactful.
Q&A
Q: How do I start drawing a wind turbine?
A: Start drawing a wind turbine by sketching a tall tower. Add a horizontal rotor with three blades at the top. Ensure the blades are elongated and evenly spaced. Use light pencil strokes for guidelines before detailing the structure. Refer to tutorials for precise angles and proportions.
Q: What materials do I need to draw a wind turbine?
A: Use plain paper, pencils, erasers, a ruler for straight lines, and colored pencils or markers for detailing. If you prefer digital art, a drawing tablet and software like Adobe Illustrator can enhance your design. These tools help create clean and professional-looking illustrations.
Q: Are there specific steps to follow when drawing a wind turbine?
A: Yes, follow these steps: 1) Draw the tower, 2) Add the nacelle (the box at the top), 3) Sketch the rotor with blades, and 4) Detail with shadows and textures. Each step builds on the previous one, ensuring a comprehensive representation of the turbine.
Q: How can I make my wind turbine drawing more realistic?
A: To enhance realism, focus on shading and perspective. Use different pencil pressures for light and dark areas, and pay attention to the light source when adding shadows. Refer to real wind turbine images for inspiration on details like texture and scale.
Q: What common mistakes should I avoid when drawing a wind turbine?
A: Avoid overcomplicating the design; start simple and gradually add details. Ensure proportions are correct, and don’t forget to balance the blades; they should appear evenly spaced and aligned. Check for symmetry, as uneven features can detract from realism.
Q: How do I add color to my wind turbine drawing?
A: Use a color palette that reflects real turbines: typically gray for the tower and bright white or light blue for blades. Start with base layers and gradually add darker shades for depth and highlights for shine. Blending colors can achieve a smooth finish.
Q: Can I draw a wind turbine from a different angle?
A: Absolutely! Experiment with perspectives such as a side view, frontal view, or even a low-angle shot looking up. Each angle provides unique challenges; study reference images to understand how shapes and proportions change with perspective.
Q: Where can I find references or tutorials for drawing wind turbines?
A: For references and tutorials, check online platforms like YouTube, drawing blogs, or dedicated art websites. Many provide step-by-step video guides or illustrated instructions, perfect for enhancing your skills in drawing wind turbines.
These FAQs can help engage readers and enhance the article’s SEO effectiveness by integrating relevant keywords and addressing common queries directly related to the topic. For more detailed guidance, don’t hesitate to explore our full “How to Draw a Wind Turbine: Step-by-Step Design Tutorial.”
Key Takeaways
Congratulations on completing your wind turbine drawing! As you reflect on the techniques you’ve learned, consider exploring our related tutorials like “How to Draw Renewable Energy Sources” or “Understanding Wind Energy Basics” to deepen your knowledge and enhance your skills. Don’t forget to download our free resource guide on drawing materials to help you take your art to the next level!
We’d love to hear your thoughts-feel free to share your drawing experiences or ask any questions in the comments below. If you found this tutorial helpful, please subscribe for more creative insights and projects! Remember, every step you take in mastering this craft contributes to a sustainable future. Keep practicing, and let’s make clean energy universally accessible!
Get our latest guides, news, and insights highlighted in your Google Search & AI Overviews.